The major update in pyCGM2 version 4.3 is the removal of Mokka from the processing workflow, which was previously used to refine gait event detection. We now believe that it is better to perform these adjustments directly in QTM.
Therefore, we recommend manually editing the gait events for each trial.
While pyCGM2 incorporates the Zeni algorithm for automatic event detection, its implementation in QTM is not optimal. The QTM API operates solely in 32 bits and cannot incorporate pyCGM2, which is developed in 64 bits, as an external library. We will remain vigilant for any changes to the QTM API that could facilitate integrated processing in pyCGM2
The QTM interface
This figure illustrates the QTM user interface and the content of the start processing button
The QTM-PyCGM2 flowchart
here is the flowchart of pyCGM2-QTM workflow
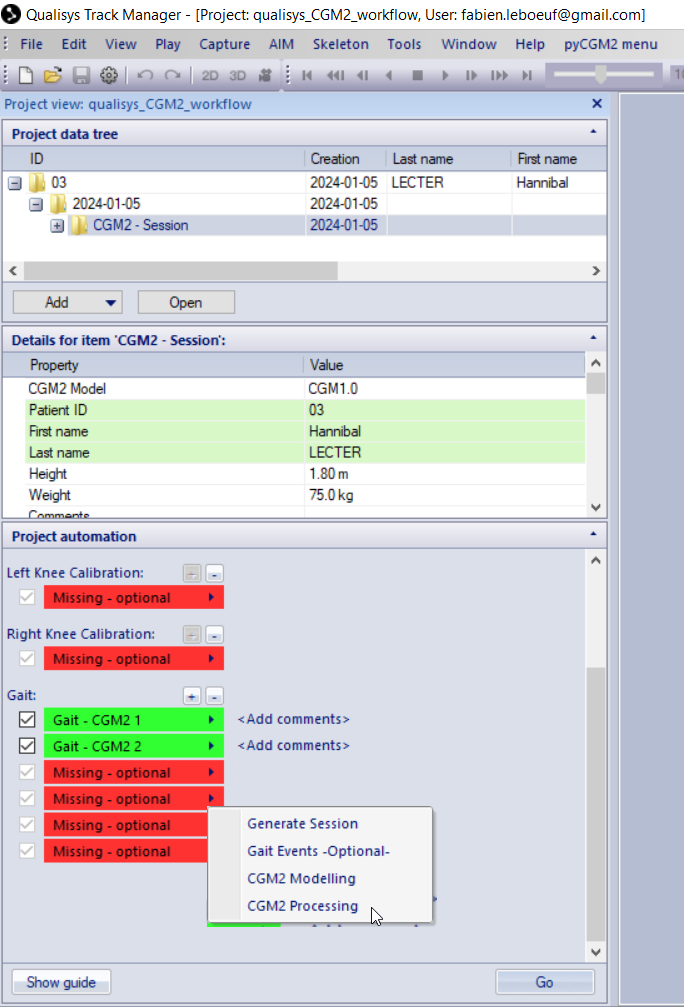
step 1: Generate session
Initiate your session by running the generate session command. This action creates the settings.xml file and exports C3D files for the selected trials, setting the stage for analysis.
step 2: Gait events
To accurately detect gait events, we recommend starting with the first approach:
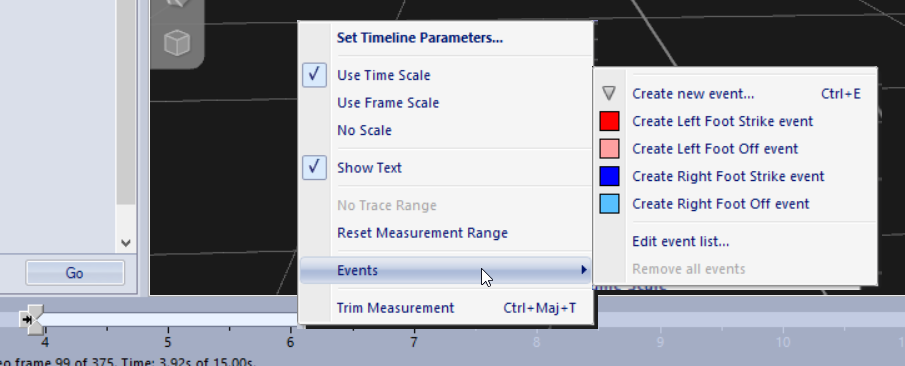
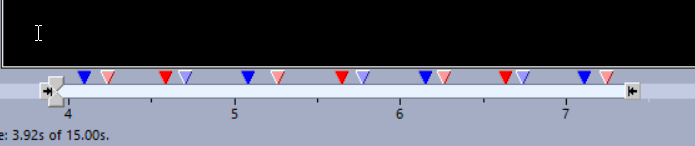
Manual Approach: Manually load each trial, then add gait events by interacting with the timebar. This process involves selecting a specific frame to mark a gait event. Refer to the illustration for guidance.
Automatic Approach: Utilize the kinematic-based Zeni method by clicking the Gait Events-Optional button. This executes a pyCGM2 operation across all chosen trials. After completion, follow these steps to update your QTM files:
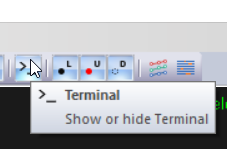
- Open the QTM terminal as shown below.
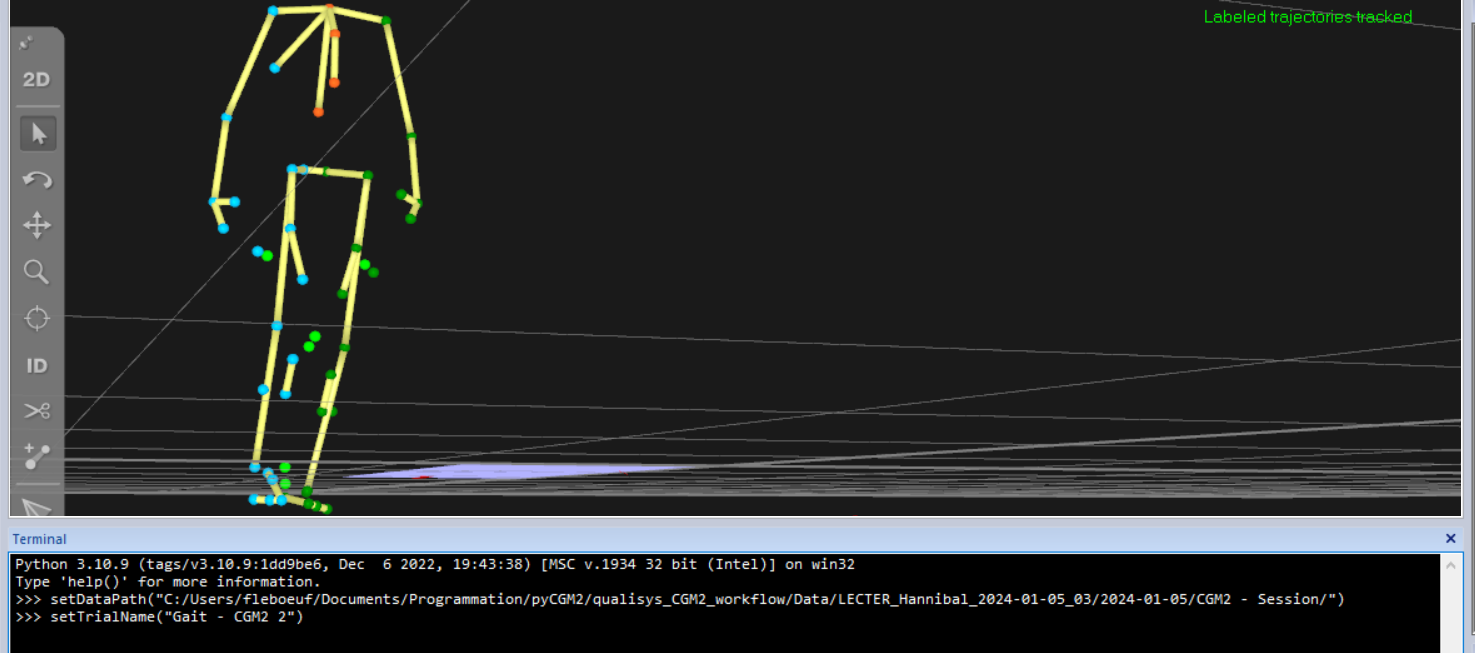
Load a single trial into the 3D view.
Within the terminal, specify the data path and trial name according to the instructions provided in this image.
- From the pyCGM2 menu, select update events to visualize gait events on the timebar.
- Save your QTM file. For subsequent trials, there’s no need to reset the data path in the terminal.
step 3: CGM2 modelling
You can either:
- Execute the
CGM2 modellingcommand from the Start processing menu to apply a specific CGM#i model to your trials. Choose the desired CGM model from the CGM2 model selection.
or
- open a conda console, activate your virtual environment and run the command:
pycgm2.exe QTM Modelling
step 4: CGM2 processing
You can either:
- Finalize your analysis by running
CGM2 processing. This operation not only processes the model outputs but also generates a comprehensive PDF report and exports time-normalized data into a spreadsheet for further analysis.
or
- open a conda console, activate your virtual environment and run the command:
pycgm2.exe QTM Processing